When my husband and me moved into our new house in March 2017, we decided right away that we wanted a Gaming Room. It will mostly be used for RPG sessions though! My husband began working on it a few months after we moved in and we decided to showcase the progress here on the blog. As Nicki, my husband has done most of the renovation work, I’ll give the word to him.
*Ahem*… It is I, Nicki! Hello! I hope the post won’t be too long over time, but I’ve decided to include as many pictures and information as possible. Both Nana and I would like to document our progress with the room, so it’s kinda for our own sake as well as giving everyone reading Nana’s blog a look into our nerdy “world”.
The Hidden Door
First off, a bit of information about the room. It’s 3m wide and 3,5m long, has a window and 1 door (Surprise! It actually has 2!).
When we moved in, the previous owner had left a huge closet covering the right side wall. Once we moved the closet, we found out that we had a “Hidden Door” behind the closet.. It was more or less just boarded up and covered with wallpaper, the kitchen is on the other side of the room with cabinets in front of the door, so we had no idea it was there. Below you can see how it looked after I had removed the wallpaper and the wood plate covering it.

At this point I had removed a lot of the wallpaper, but still had to remove patches here and there. To the bottom right, you can see a triangular block, this is actually the top of a staircase leading down into the basement (This was also hidden in the closet, but we had of course already noticed that ;) – We already had a plan what to do with the block and that corner, but more on that later.
I’ve included a few more pictures of this stage below.


Fixing the Walls & Painting the Ceiling
It took a bit of time to properly fix the walls, especially because the old panels were nailed into the wall with some long ass nails, so the bottom of the walls ended up being pretty busted. So after spending a couple of days fixing the walls properly, it was now time to paint the ceiling (We wanted to get that done before starting on the walls). We had decided on painting the ceiling matt black – Finding the proper paint was a bit of a hassle, but it all worked out.

Painting the Walls
We wanted the walls to be pretty dark, but still maintain some contrast to the black ceiling. We had talked about having it look like a sort of castle wall, but were unsure on how to achieve it. We finally ended up using Jotun Minerals, which is quite a unique paint that gives a textured look. It has to be painted with a brush, and its consistency is very thick, so it was quite hard to paint the wall with it. Nana offered to help me, and with her help we were done in 2 days (With an extra layer on two of the walls.

That’s how it looks when you start putting the paint on. Quite messy! But below you can see the final result. The walls are quite bright with direct sunlight on them, but we’ll make sure no sun comes into the room later on ;)


The Floor
For the floor we decided that we wanted a red carpet, so once the carpet arrived it was quite easy to put on. And with the carpet on, it now looks like this:

The Wood Panels
Nana and I had decided early on that we wanted a lot of wood panels in the room. And as it turned out, this took a lot of time. We bought some quite rustic wooden planks that I sanded while trying to maintain a bit of the rustic non-industrial look. We then painted each of them twice. Since we wanted the panels in the top, bottom in each corner and around each door, it ended up being A LOT of planks that we both had to buy, sand and paint. I think we ended up buying around 30 of the planks shown below. Oh, and we didn’t use that little brush for painting them, we used a paint roller.

After a couple of days of sanding, sawing and painting, it was time to put up the first panels. We also found an awesome used table that fit in perfectly, it’s hard to see on this picture, but I’ll show it properly later on. The table also had two extra plates for extending it, and one of these will be put to good use for another table later on.

On the picture below the panels were put up in one corner, and I decided to make a little “Mood setting” for the picture. The table in this picture was another one we started out with, but it turned out to be too small and we have removed it from the room and used it elsewhere. Unfortunately it’s not the best picture, but it’s the best one I got from this stage!

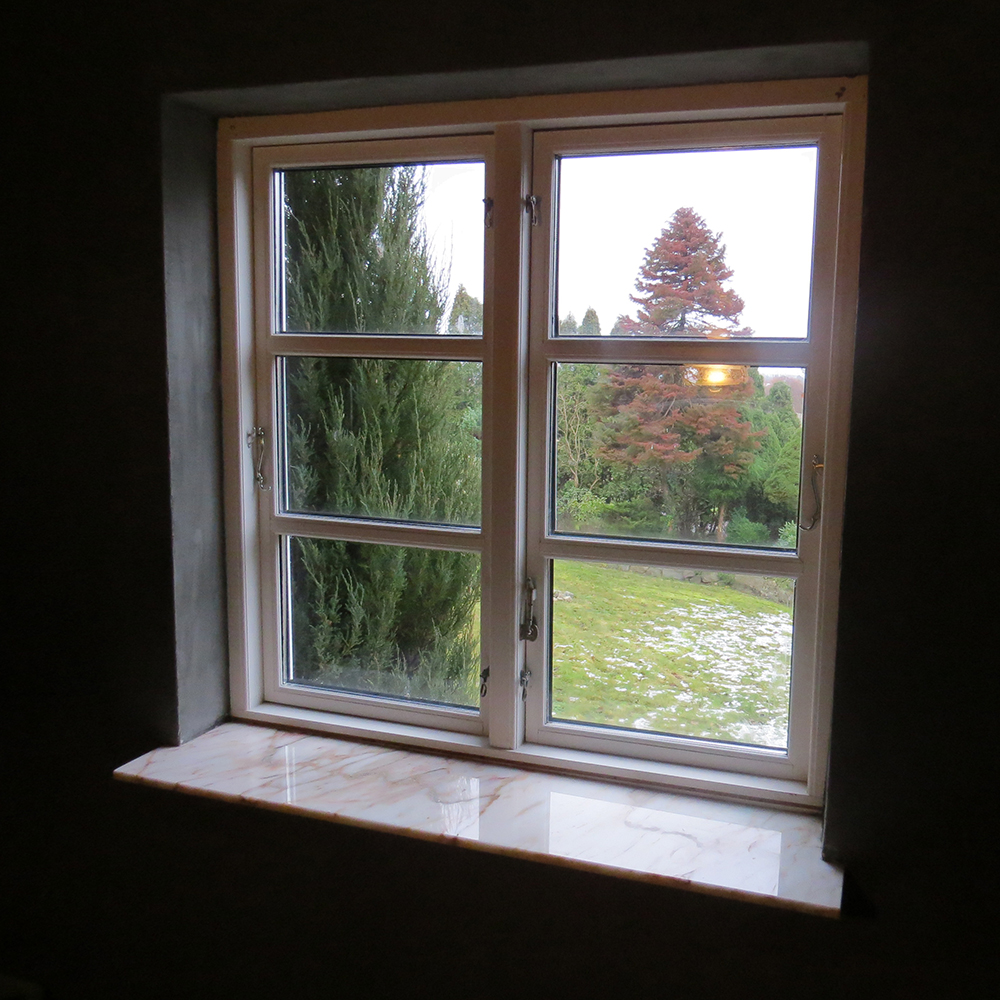
The Window & Shutters
In the room, there’s a standard window painted white while the windowsill is in marble. It does not fit into the room at all.
So we decided to cover up the marble plate and put up some shutters in front of the window. The wooden windowsill can be slided over the marble one, so it can easily be removed later on. The picture below is WIP, the boards were sanded down and then painted.

As for the shutters.. At first I had an idea that I wanted hinges for the shutters, but in the end I decided not to do that. For now, they’re just placed in front of the window, they’re quite heavy and stand firmly in place. But they’re easy enough to remove when you need to open the window or clean it. Below you can see some WIP pictures.


The end result can be seen below.

Lamps
We decided that we wanted colored bulbs for the RPG room, we ultimately went for Phillips Hue. So this section will showcase some of the lamps we add in the room (More to come). The first one is an old iron wrought lantern that was hanging close to our house’s front door when we moved in. It was rusty and not very pretty to look at. Unfortunately I didn’t snap any before and after pictures, but we removed as much of the rust as possible and painted it black. We then cleaned the glass and installed a socket. The wire runs behind the corner panel.


We already have several colored bulbs in the room, and it can really affect the mood of a scene when changing the colors in the room.
I’ll write more as soon as possible, we have made a lot more progress since these pictures – So there’s plenty to show!