Khorne Slaughterhouse – Mordheim Terrain

Finally had some time to write a few posts! As my husband and I are moving into our new house in less than a month now, there has been less time to concentrate on painting. But in 5 weeks, I should be up to speed again.
Our entire miniature collection has already been packed and is safely stored, but I managed to take some pictures of a lot of them before “tucking them in” :)

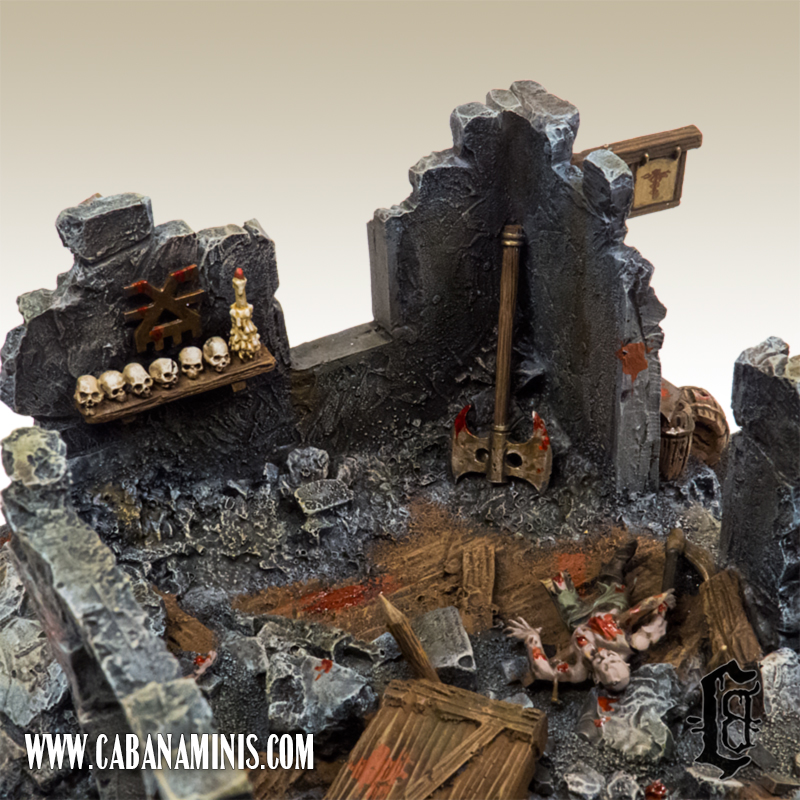
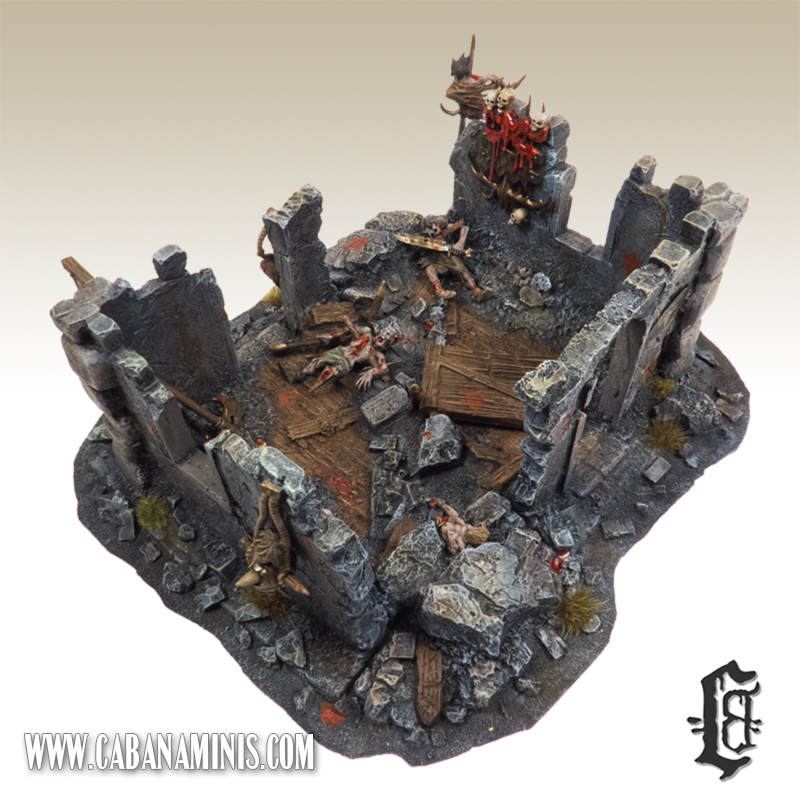
One of the numerous additions to our Mordheim terrain is this mostly scratchbuilt and heavily converted Khorne house. As the name may suggest, this is not a cozy cabin, but the home of a Khorne warrior who somehow wound up in the ruined city of Mordheim.
khorne_slaughterhouse_01

The idea was that he walks around capturing victims to build a very nice shrine to Khorne, including a blood filled one and a skull filled one (Blood for the Blood God, skulls for the Skull Throne) and of course brass details :)

He has chosen an old doctor’s office as a home! Tried some free-hand on the signs, but it proved to be a bit messy :-P

The walls are spare parts of Escenorama’s building set.


Advertising Pillars – Commission

In December I worked on a commission for a British customer who really liked the Advertising Pillars I made last year. I made two for him using the same method as the previous one, but with a different quality in paper (much better)

As they were supposed to be a bit different from each other, I made one of them using only cut-outs of advertisement/commercials and another using only recruitment and Wanted posters. The one on the left is the commercial one and the one on the right is the public information one :-)

Most of the posters are from various authentic posters, Fable and Witcher 2 & 3 video games, and a few Games Workshop ones. I just noticed now that a Wanted poster sneaked into the commercial pillar (guess they were very important to catch!)


Malifaux The Stolen – In a not so plagued version!

Get out of my yard, you kiiiiids!

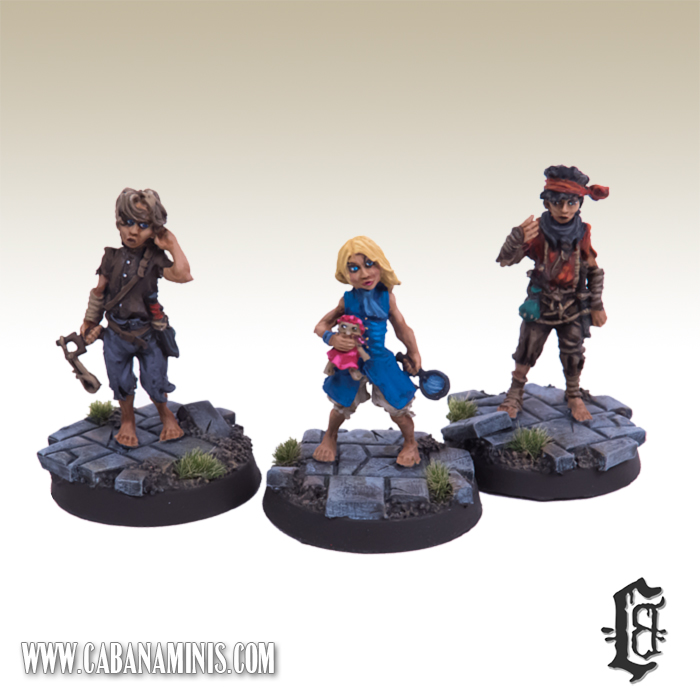
Before Malifaux/Wyrd went on to produce all their products in plastic, they were all small metal kits. I recently found this discontinued set with 3 Stolen (which is creepy pale kids inflicting disease and causes blight to foes)

I’ve been searching for some street kids (already have the Hasslefree medieval ones) but I really lacked some urchins. After seeing these I immediately had the idea to make them not-so-creepy versions :-D

Kids

The girl has already had a part in our Nordland Campaign as a nobleman’s daughter. The two boys are a lot more street urchin looking and there’s an orphanage in our upcoming adventure :)

All three of them are mounted on 25mm round Stone Floor bases from Tabletop-Art.

Old Blacksmith’s Forge from Tabletop World

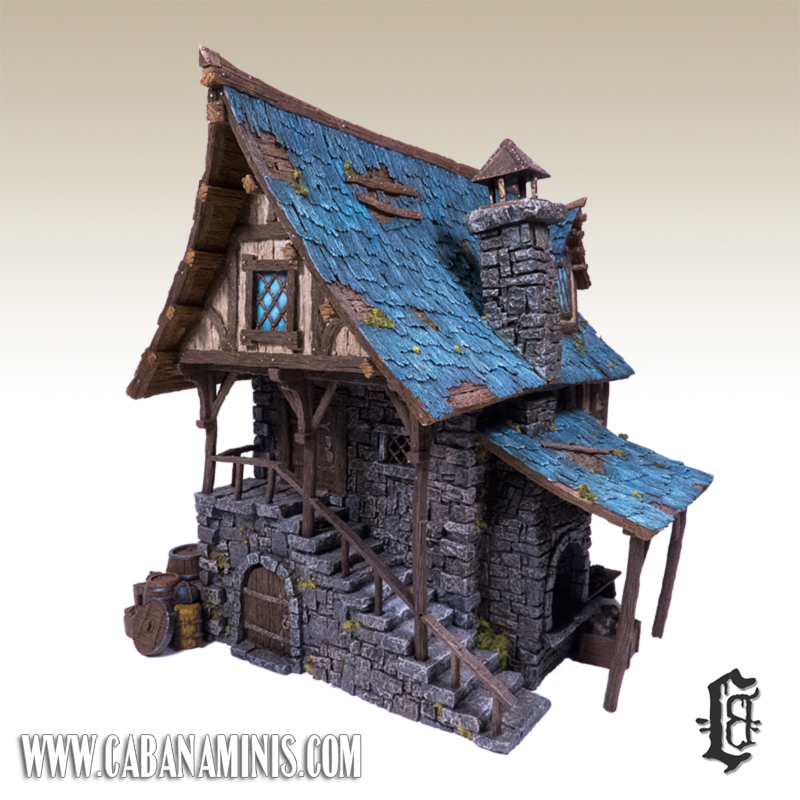
Finally managed to snap some pictures of my old Blacksmith’s Forge from Tabletop World. This is their second version of a Blacksmith and is sadly no longer available. This was one of those do-it-yourself kits that took 10 hours to assemble, using hot water for bended parts (mine even arrived with broken pillars) and gluing the thing together.

This was my 3rd Tabletop World building and the first one where I didn’t paint interior, since lifting the roof included lifting the pillars on the stairs, and they were so fragile that I glued to whole thing together.
The older models included a bunch of furniture and accessories, so those were used for a lot of different projects! The new easy-assemble models are much less of a headache but doesn’t come with furniture and accessories. Which is totally fine by me :-) I really prefer the new models “assembling-wise”.

Since this was my 3rd painted Tabletop World building, a lot has changed since then! I probably would have painted it different now, but I rarely repaint my old painted terrain as it’s also fun to see how much I have progressed.

It might be hard to see it from the picture, but Tabletop World’s buildings were a whole lot larger back then. Somewhere down the line, the buildings shrunk to a 25mm scale (tops) for miniatures which is a shame, but they still look awesome :-) I actually started out with painting the interior of the rather new Town Gate, but the miniatures looked like giants and even without base they were still atleast a head taller than the doorways! You don’t notice that at all from the outside though! Which is why I usually resort to gluing everything together.

Only exception is the Guard Tower (it’s an old DIY kit that they revived as an easy-to-assemble version) I painted the interior of the wooden floor (the one with arrowslits) and furnished it with armor and weapon racks. But again, it’s an old model and the scale of that one is 28-30mm.

Nightmaw – Without Sayl the Faithless

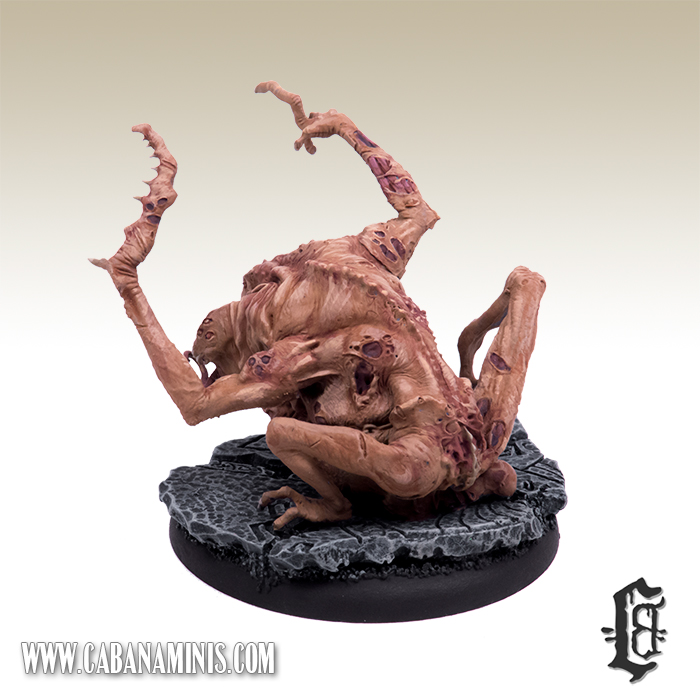
I’ve had this Nightmaw (from Forge World’s Sayl the Faithless) primed and ready to paint for a long time. But recently I decided to do some experimenting and learn how to get better at painting skin and shadows. So Nightmaw was the perfect choice! Instead of his more purple depiction in the Tamurkhan book, he is now used as a Tzeentch Chaos Spawn.
Nightmaw is actually the result of 3 of Sayl’s fellow apprentices being melted together (disgusting, right?)

Nightmaw

I kept the base very clean to highlight the skin on Nightmaw. I had to freehand a lot of the skin, as it was too plain without. But the details on this are amazing! Here he is from a few more angles:

I only used Reaper Paints for this which are “hands down” the best skin paints in the world. The darkest shadow is Tanned Shadow (using the whole triad with Tanned Skin and Tanned Highlight) Then went on to Fair Skin (and the Fair Highlight). I painted bloodshot eyes based with Redstone Highlight (which is perfect for painting lips and soft wounds without looking pink) and Fair Skin Highlight as the brightest (it’s almost white)
The wounds were painted using Imperial Purple and highlighted with Redstone Highlight mixed with the skin colours on my palette.
I used a little bit of Flesh Wash from Vallejo to make the shadows a bit darker. The wash has a very matte finish and is great in small amounts.
Teeth and claws were painted the same way as the skin but highlighted with Khaki Highlights (I always avoid bright white colours, as it gives a very cold and often chalky feel to the miniature)

I spent around two evenings on this one (not including preparations, basing and priming), and he looks really badass in my display cabinet! Oh and his master Sayl is patiently waiting for a paint job on my table (as he has done for the past two years)…

Townhouse from Tabletop World

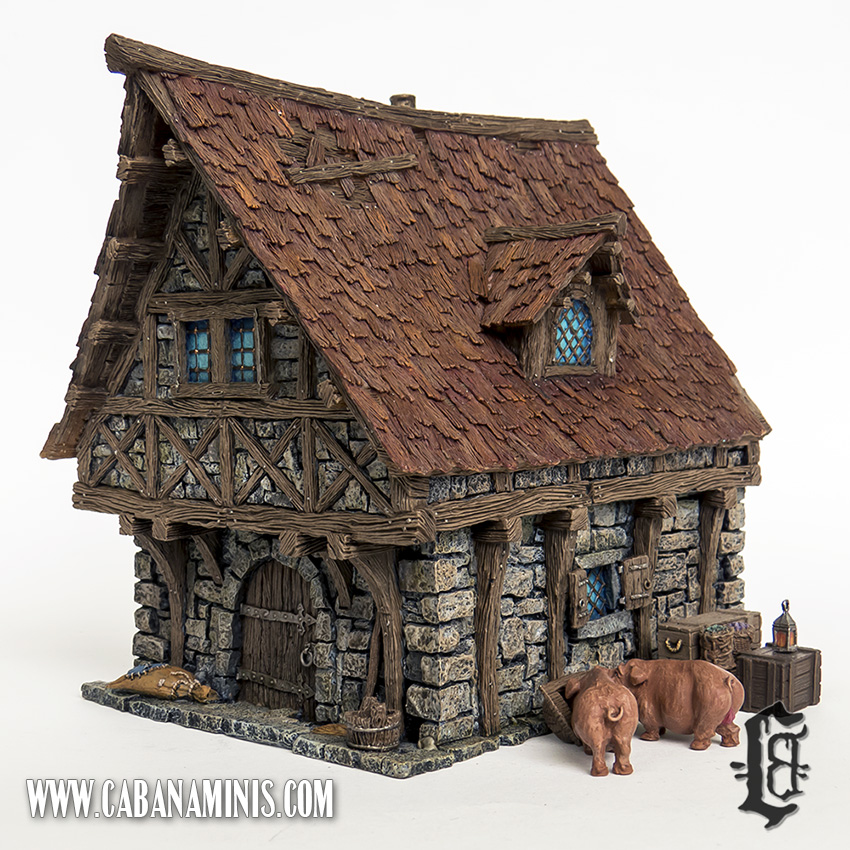
For some reason I never got around to make a post about the Townhouse from Tabletop World, even though the house has been up on Coolminiornot.com for quite a while. So here is a late post about the awesome small but detailed building :-)

Townhouse

The pigs in the picture are from Lead Adventure and are very cute! One is a female and the other a male (they have detailed lady and gentleman parts!) The house is one of the easy assemble ones. It comes in only two parts with detailed interior. As usual I chose to glue the thing together, since it’s rather hard to furnish properly (proportionally it’s the size of a small shed or outhouse) :-P

It only took me a day to paint this as there were few demanding details (I had already painted Mr and Mrs Pig) so I’m quite proud of the result! This was painted shortly after the Coaching Inn, so I repeated the red roof on this one. I have tried to mix the roof colours so it doesn’t look too messy on the game board, but it isn’t as easy as it looks. Still have too many blue roofs! (Town Gate and Guard Tower each have a blue roof)

Stay tuned for more Tabletop World buildings!

Night Goblin Commander on Giant Squig

After a few days off in total relaxation (On the couch playing Divinity: Original Sin with my husband) I thought it was time to put up a post before returning to work!

Here is the latest addition to my Night Goblins, the champion of the Night Goblin Command group from Forgeworld.

I painted the Squig as having rusty armor with a few pretty additions made by the goblin in command! I also freehanded details on the goblin and highlighted his black robes with dark blue colours. A pretty handsome lad :-)

Oh and I decided not to paint his eyes completely red and just chose a red iris to give him more character.

I will need to find a substitute arm for the bannerman, since I used the banner for my goblin tree-city terrain, which I have been working on for quite a while now :-P

Happy New Year!

Christmas Diorama 2016 – Finished

Only 4 days left for Christmas (in Denmark we celebrate Christmas/Jul the 24th) Here is the final result of the Diorama!

Santa’s facial expression perfectly matches the situation and we are very proud of our Diorama!

We learned one thing this year though, and that’s the walls. We used a thick plaster on styro and it ended up looking a bit too messy. Next time we will file down the layer and make it much more smooth, especially when using colours on the walls. It looks great in our lighted vitrine however, and will stay there all year (every day is like Christmas in our home!)

This has been our second Christmas Diorama and we plan on making a new one each year! Next year it’s either the Frog Christmas or the Spooky Diorama (with a creepy santa!)

Classic Dryads to serve the Dryad Queen

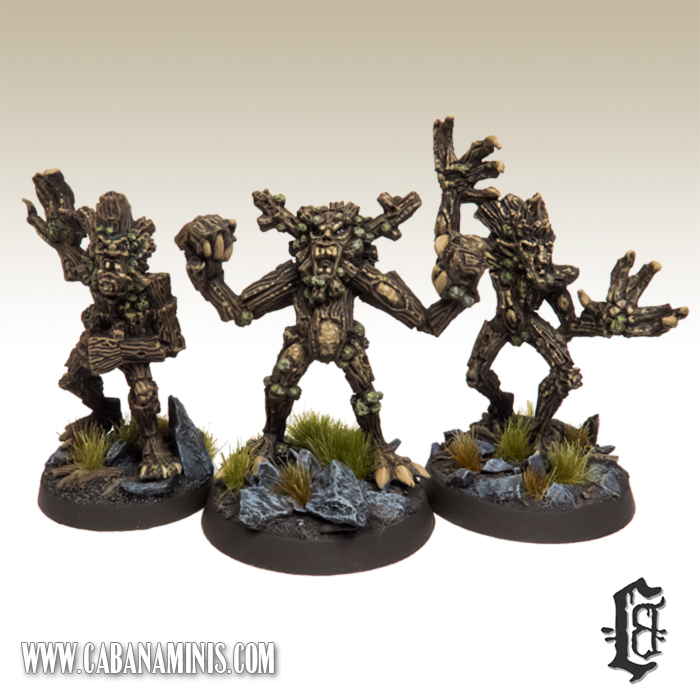
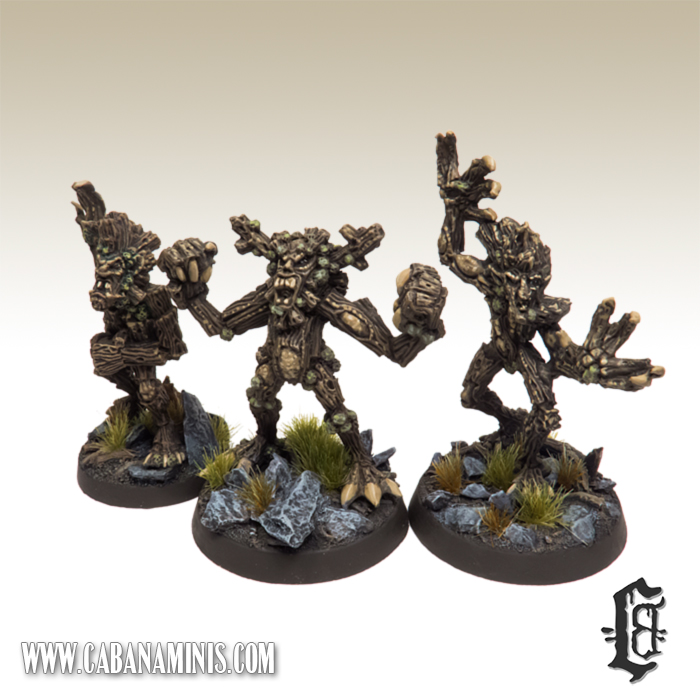
As I wrote in the previous post, I made a trio of dryads (old metal versions before the plastic sets came out) My husband and I laughed at the idea, as the miniatures look a little ridiculous. However, I used all my skills to make them look authentic for our Nordland campaign and to match Drycha!

Dryad Trio

Again, I used various brown colours from Reaper and finished off with very light browns (I never use pure whites, as they easily comes out as chalky and way too bright) Reaper’s Khaki Highlights and Scale75’s Thar Brown are the brightest colours I use.

Dryad Trio

I painted the guy on the left first, and somehow thought I used 32mm bases instead of the 25mm he is on (he was hiding in our cupboard) so I put the other two on 32mm’s. (Kromlech’s Windfall bases as usual) Oh well, it looked fine on the game board :-P

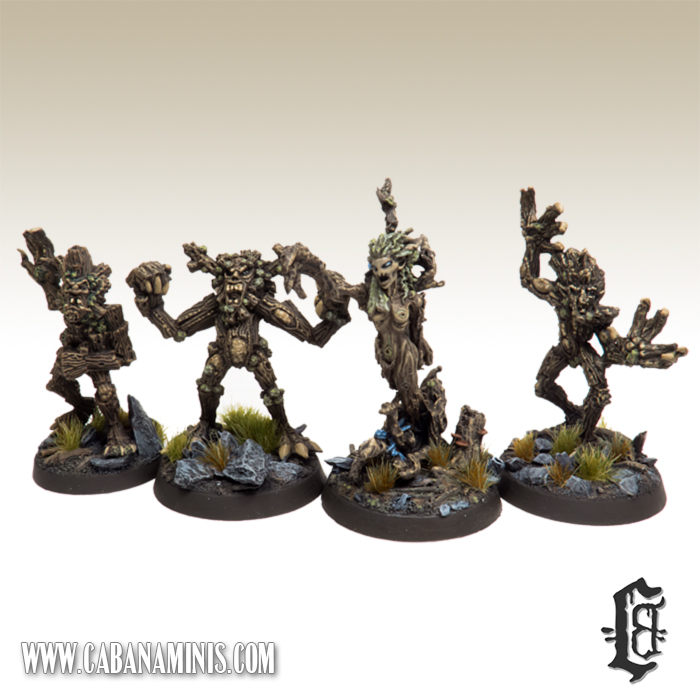
Here is the trio next to Drycha (Even though lower dryads don’t really have a gender and usually transform into female beauties when luring soldiers into the woods, I thought that the 3 dryads had to be men luring village women in :-P )

Trio with Drycha

I would love to paint some of the plastic ones as more obvious female versions, but I will have to buy 16 at a time and the pretty neat Branchwych (foolish name aside) costs a staggering £14 for a single plastic mini… So I might wait a while!

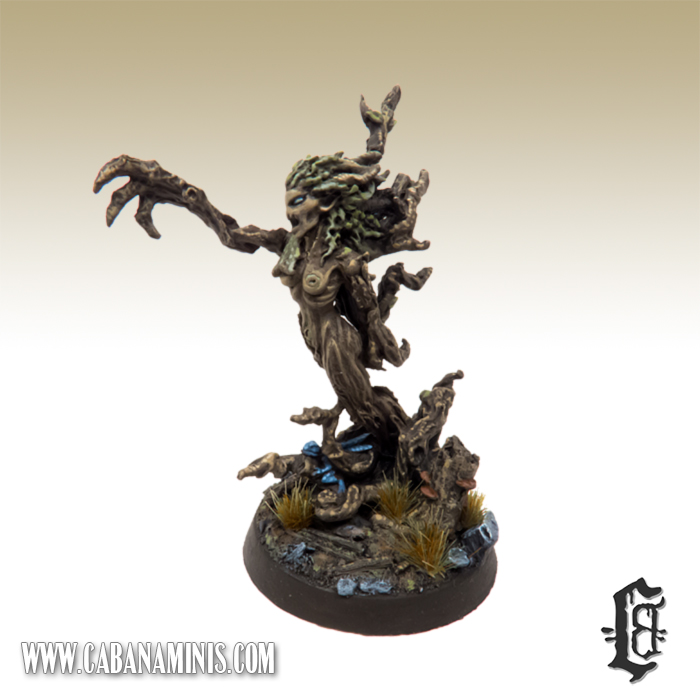
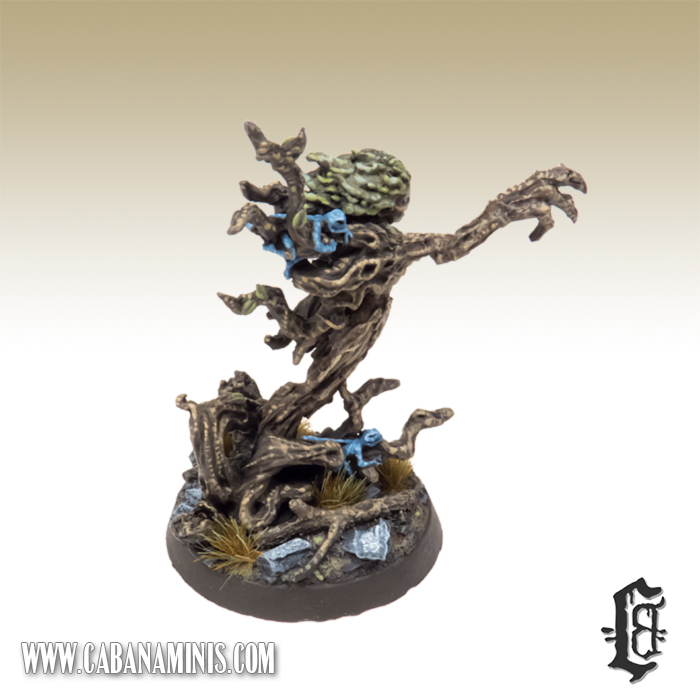
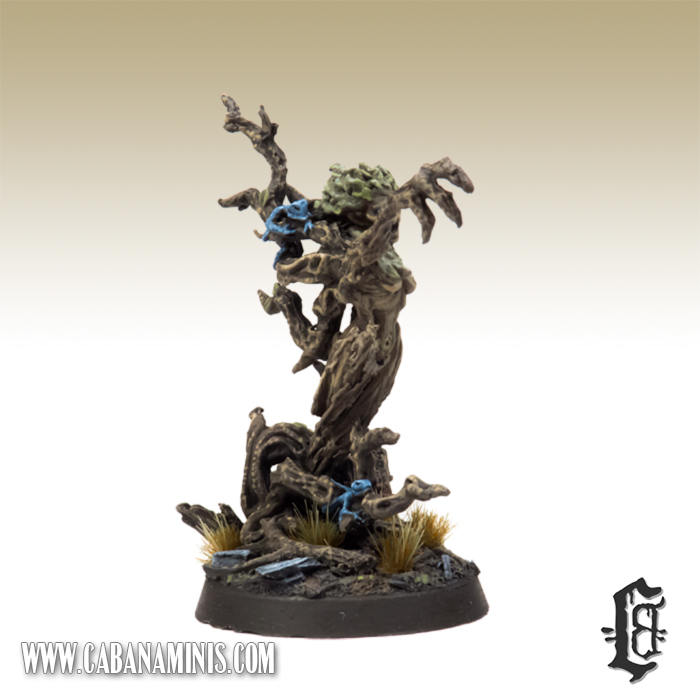
Drycha the Queen of the Dryads – Or Nowadays: Branchwraith

As part of our Nordland campaign, we have quite a few Forest beasts and other monsters lurking in the background. One of those “things” is the Dryad Queen Drycha (which I took from my husband’s very old Wood Elf army and stripped of paint) Tried to paint her in a traditional way but with small freehand details and tiny dots to show that she is an “old lady” and has been in the forest for many years!

Drycha

Used Reaper brown paints, with Ghoul Skin highlights in her hair and bright blue eyes. The sprites are painted using Winter Blue with various highlights.

Drycha

The base is a 32mm Windfall round base from Kromlech (which I’ve used for many of my forest creatures so far!)

Painted a trio of dryads to go with her, that you can see in their own post :-D